Transcription of the video above
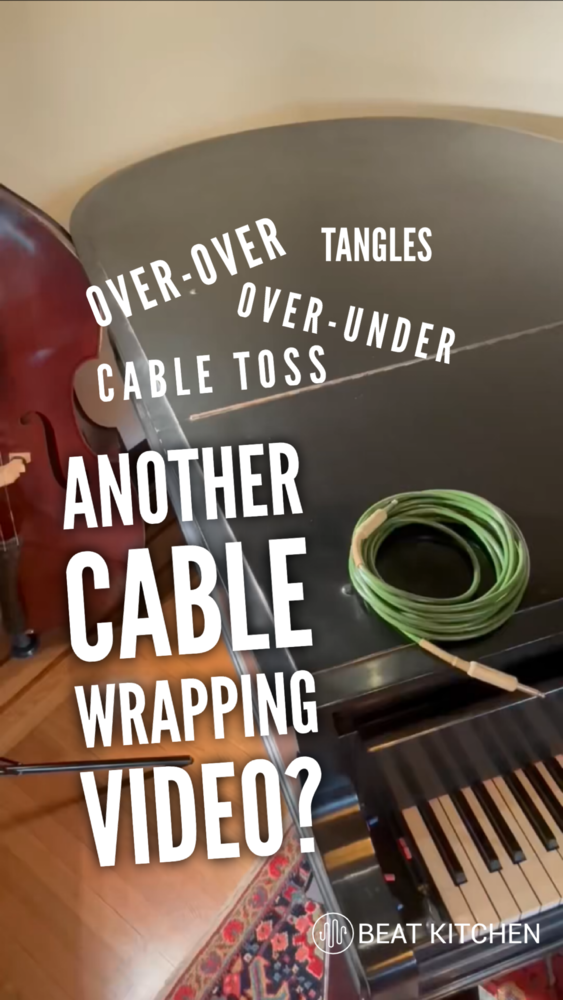
I can’t believe I’m saying this. Despite the fact that there are about a million cable wrapping videos on the internet, I think we need one more. Despite what we’ve heard, there’s not a wrong way to wrap your cable, but there is a wrong way to wrap mine.
The correct way to wrap a cable is kind of like the correct way to load the dishes in a dishwasher at somebody else’s house. And the reason it’s important for you to know this is engineers get a little weird about cables. At its worst, it’s gatekeeping.
But it’s also based in good cause, maybe also a little bit of BS. So before I teach you how to do it, first let’s talk about the outcome. The first is so that you don’t have the studio drill sergeants peering down their noses at you.
Every time you coil a cable, you create a little twist. And every cable has a memory, which means it’s going to want to wrap itself like this next time and stay tangled. Tangled wires cost time, and they’re frustrating.
And a cable like this or this may wrap quickly, but it also won’t store nicely. And when it comes time to use it again, it’s going to be a tangled mess. Here are some bad memories right here.
Clear a cable’s memory by laying it out straight in the sun or hang it from something really high. And then do yourself the kindness of wrapping it nicely. And here are two ways to do that.
One way to avoid that twist at the end is effectively to roll the cable like a wheel over and over to end up with something like this. And while that’s the outcome, nobody’s expecting you to crawl around in all fours and play choo-choo with the cable. Instead, gather the cable in your hand, make a loop of the size that you like, then try to avoid pinching with your finger so you don’t break it and give a little twist and a flick.
Every time you do this, you create a little turn in the cable and you’ll have to shake it out periodically. Why do we care? Well, for one thing, it stores more easily.
Most studios favor a bigger role than this, but I’m a New Yorker and this is the size I like because that way I can fit a whole bunch on the wall. Now you will hear people say that as you wrap this around and around, you create increasing strain on the outside of the wire. Personally, I think that maybe is a bunch of malarkey.
Most cables have twisted strands inside. Here are the internals for the over over method I just showed you. And here they are for the over under method that I’m going to show you next.
You might see additional stress on a big snake like this one, but the idea that you’re going to destroy a cable if you don’t wrap it over under seems a little over-blown to me. But the over and then under method will avoid having the cable spiral on you as you coil it and it will throw beautifully provided you don’t mix up these ends. That’s because while the over over method creates sort of a sequential stack of windings, the over under method by necessity sort of alternates.
Notice that I’m also paying particular attention to try and follow the existing memory of the cable. It’s going to do the work for me. And yeah, one side kind of tucks under the other every other time.
It’s particularly important that when I’m done, even when it’s tied up, I know which side of the coil each of these ends is on. And that’s because if this end somehow ends up over here, watch what happens when I throw the cable. We get a bunch of little knots.
Don’t panic. Gather the cable, take one end and pass it back through and it should untangle itself like magic. The third outcome of whatever method you choose should be the swift deployment of the cable.
Regardless of whether you’re going to throw it or not, the most fragile part of the cable is probably these little solder connections. To the extent possible, cushion the fall to the floor with your foot, but that’s not practical with a hundred foot cable. To that end, a good coiling technique is going to facilitate a good cable throw.
You can help protect the end of the cable by making sure that the force from your under handed throw is horizontal and not vertical. You grab the exit end of the cable and you launch the other side. You should have a straight wire when you’re done.
But hold on a second because if that’s an XLR cable, it’s got an input and an output side. Remember, the signal flow goes in the direction of the pins. And if you threw the wrong side, now you got to go and get the other one and do it again.
Good cable hygiene is part of good cable management and it applies to things like power cords and hoses and all sorts of other stuff. My civilian friends won’t listen to this for five minutes. Heck, I don’t think my cat will listen to me talk about this for five minutes.
But somewhere out there, somebody needs to know about this stuff. And those people are our people. And if someone who belongs in a Beat Kitchen class, share this post.